
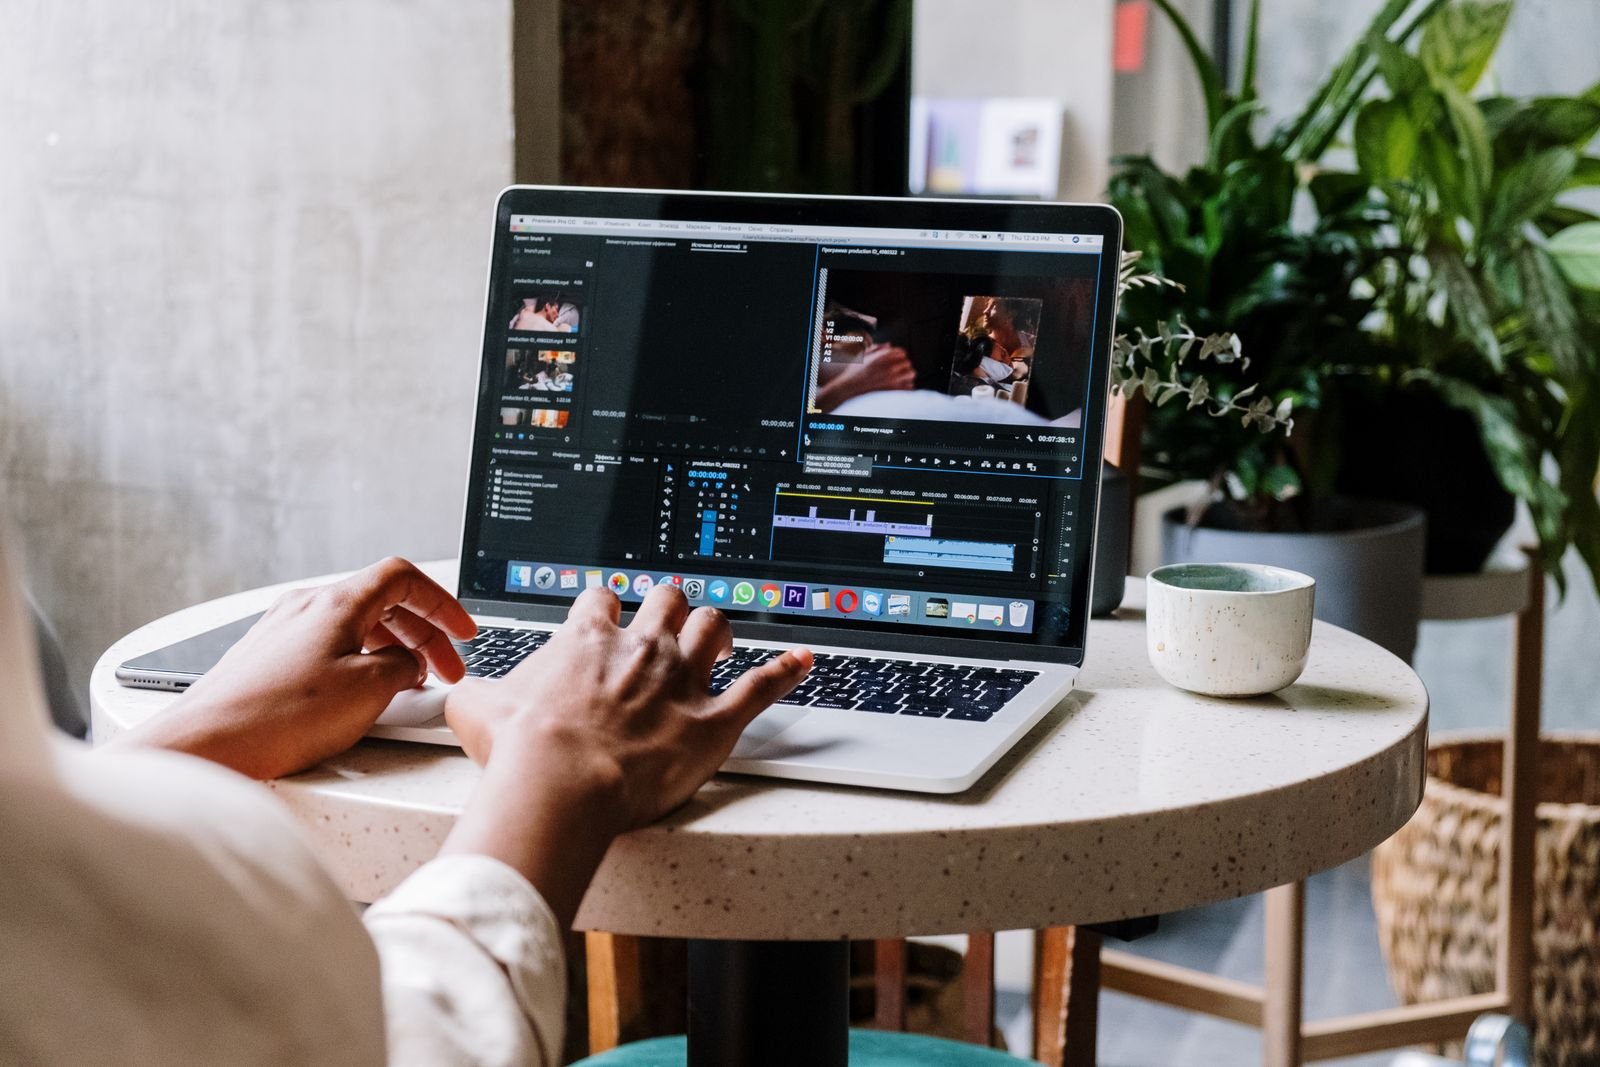
The quickest way to edit your first video in Clipchamp is to start a new project, import your clips, drag them onto the timeline, trim away what you don’t need, add a title, adjust the audio, and click Export. Clipchamp is Microsoft’s video editor, and it is available both online and as an app on Windows. This clipchamp tutorial walks through each step in order so you can finish a short video this week.
Who Clipchamp suits (and who it doesn’t)
Clipchamp is a good fit if you want to make simple videos for work, social media or a small business without learning professional software. It can handle longer pieces like tutorials or sales presentations, and it can also turn raw footage into a shorter clip for platforms such as YouTube, TikTok, Facebook and Twitter. Microsoft describes it as a tool that makes it easy for anyone to create and edit videos at work, with no experience required.
It is also handy if you already live in the Microsoft world. If you sign in with a Microsoft 365 account, your project is stored there, and you can start a new project from OneDrive too. If that sounds like you, our course Unlocking Microsoft Office 365 shows where Clipchamp sits among the other apps.
If you need advanced effects or complex multi-camera work, you may eventually want something heavier. For first videos, though, it’s a gentle place to start.
Step 1: Start a new project
Sign in to Clipchamp with your Microsoft account. On the web version, you may be asked for your date of birth and where you live, because age requirements depend on location. You can also tell Clipchamp what kind of videos you plan to make, or skip that question.
From the homepage you have a few ways in:
- Click the create a new video button, or the + icon, to open a blank project in the editor.
- Click create a video with AI to start a video using the auto compose tool.
- Pick a template if you are making something for Instagram, YouTube or another platform and want a head start.
Already inside the editor? Click the three-lines menu icon, then new video. A new blank project uses a 16:9 widescreen shape and an untitled name, so give it a name you will recognise later.
Step 2: Import your media
Click the add (+) button in the left panel to bring in your files. You can browse your computer, or simply drag and drop video files into the app. You can also import from your local files or OneDrive.
You don’t have to arrive with ready-made footage. Clipchamp can record you with your webcam, record your screen, or record audio only. Some practical tips:
- Put all the clips and photos for one video in a single folder before you start. It saves hunting later.
- If you are recording on camera, you can use a blurred or virtual background, and the teleprompter lets you paste in a script and read it as you record.
- Choose your video shape early. A vertical format suits phone-first platforms, while widescreen suits most other places.
The editor also gives you access to music, stock video and stock images. Which of these are included depends on your plan, so check Clipchamp’s current official page for the details.
Step 3: Build the timeline, trim and split
Select your video file and drag it onto the timeline at the bottom of the editor. Add more clips in the order you want them to play. You can zoom in and out on the timeline to get a closer look at a clip.
How to trim or cut
The timeline editor lets you split video clips, trim away unwanted footage, and remove gaps so the video flows. A simple way to work:
- Play through each clip and note where the useful part starts and ends.
- Use the timeline’s split and trim tools to cut away the slow start, the rambling end and any mistakes.
- Remove any gaps left between clips so the video plays smoothly.
Cutting the dead air from each clip is the single biggest improvement you can make to a first video. If you can’t spot a control, hover over the timeline icons or check Clipchamp’s official help pages for the exact buttons in your version.
Joining clips with a transition
If two clips feel jarring next to each other, open Filters & Transitions from the main menu, drag a transition to the point where the clips meet, and play it back in the preview window. Don’t overdo it. One simple transition style used consistently usually looks better than a different one every time.
Step 4: Add text, audio and a finishing touch
Text and titles
Add a title from the text options, then edit the wording and position it where you want it on screen. You can make the title appear for the whole video or just for part of it. Keep text short and large enough to read on a phone.
Audio and music
Select a clip and expand the right-hand panel to adjust its audio volume. Music is available inside the editor alongside stock video and images. If you speak over footage, keep any music quieter than your voice so people can hear you clearly.
Resizing for different platforms
You can switch to a preset aspect ratio such as 9:16 or 1:1. Use the Fill button to resize your footage automatically to fit the new shape.
Step 5: Export and share
When you are happy with the preview, click Export in the top-right corner. You choose a resolution (480p, 720p or 1080p), and the video is saved as an MP4 file. A GIF option is available on the upgraded version. Clipchamp then renders the file, and how long that takes depends on your internet speed and how large the video is. When it finishes, save the file to your computer.
From there you can share it with colleagues, customers or clients, or add it to your PowerPoints and emails. If you are heading to YouTube, our guide to YouTube SEO covers how to help people find it, and video marketing without going viral shows how to get views steadily.
Try the AI video creator for a fast first draft
If you’d rather not build from scratch, Clipchamp’s AI creator can assemble a draft for you. Gather your photos and clips, click create a video with AI, give the video a title (it appears on the intro card), add your media, choose a tone, and set your export options. If the result isn’t quite right, edit it like any other project: change the title card, adjust how long each piece of media shows, and swap transition styles and effects.
Want to go further with AI in your videos? See The YouTube AI Playbook, or read our beginner’s guide to generative AI at work.
Frequently asked questions
Where can I find Microsoft Clipchamp’s tutorial?
Microsoft’s support site has step-by-step articles, including how to start editing a new video, and you can reach Clipchamp Support from there. Inside the editor, the menu also links to more help and keyboard shortcuts. For a guided walkthrough, our Introduction to ClipChamp Video Editing course covers recording, text and exporting.
How do I use Clipchamp to edit a video for beginners?
Create a new video, import your clips, drag them onto the timeline, then trim and split to remove unwanted footage. Add a title, adjust the audio, and export. The steps above cover each stage in order.
How do I add audio or music in Clipchamp?
The editor includes music you can browse alongside stock video and images, and you can change the volume of any selected clip using the right-hand panel. Keep music quieter than speech. For the exact steps in your version, check Clipchamp’s official help pages.
How do I trim or cut a video in Clipchamp?
Add your clip to the timeline, then use the timeline editor’s split and trim tools to remove unwanted footage. Close any gaps left behind so the video plays smoothly. Clipchamp’s official help pages show the exact buttons if you need them.
Is Clipchamp free to use?
A 2022 overview described a free basic account with unlimited exports at 480p, and paid plans that add features such as better export quality and unlimited stock audio and images. It listed paid plans from $9 to $39 per month, but plans and prices change, so check Clipchamp’s current official pricing page before you decide.
Sources
- How to start editing a new video (Microsoft Support)
- How to get started with Clipchamp (OnMSFT)
- Clipchamp: getting started and basic overview (NSW Department of Education)
- How to Create and Edit a Video With Clipchamp’s AI Creator (MakeUseOf)
Ready to make your first video with a guide beside you? Our Introduction to ClipChamp Video Editing course takes you through the editor one short lesson at a time, and you can try it with the 7-day free trial.